Africa Scips™ – Panel Installation

Vertical, Roof and Beam Panels
In general, the panels may be attached through the use of re bar dowels
Re Bar Dowels
Each panel is set on the foundation with two re bar dowels, one at each corner and secured with tie wire
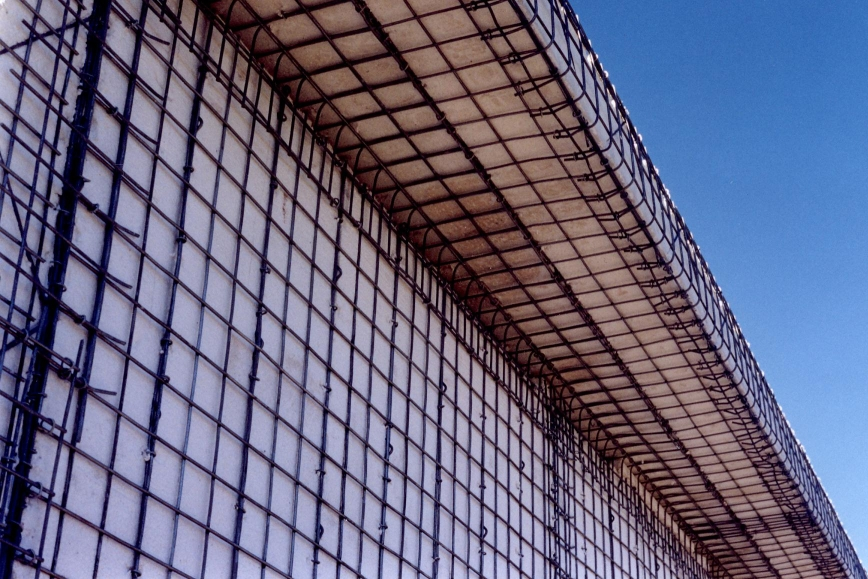
Panels are secured with stays
The panels are levelled and set plumb and propped up with two stays. When two adjoining panels are in place they are joined together with staples using the hog ring gun on both the in and outside of the panel. A cover strip of mesh 300mm wide is placed over these joints and joined to the main mesh panels with hog rings. The ridge beam is connected to the wall panels with the hog rings and also a bent 90° bent mesh strip of 300mm wide on the inside of the panel and a flat piece on the outside of the panel.
Mesh Joints
The same panels are used for the roof and these panels are connected to the wall panels and the beam with hog rings, and a 90° bent 300mm mesh strip is placed over the joints and secured with hog rings. All flat joints are covered with a 300mm cover strip of mesh. Conventional roofs can also be installed by using wooden trusses and any type of roof covering.
Electrical and plumbing installation
The foam is melted out of the way with a plumber’s torch, spray paint or acetone, to create a chase space under the face wire. The electrical conduit and water pipe tubing is simply pushed in and connected.
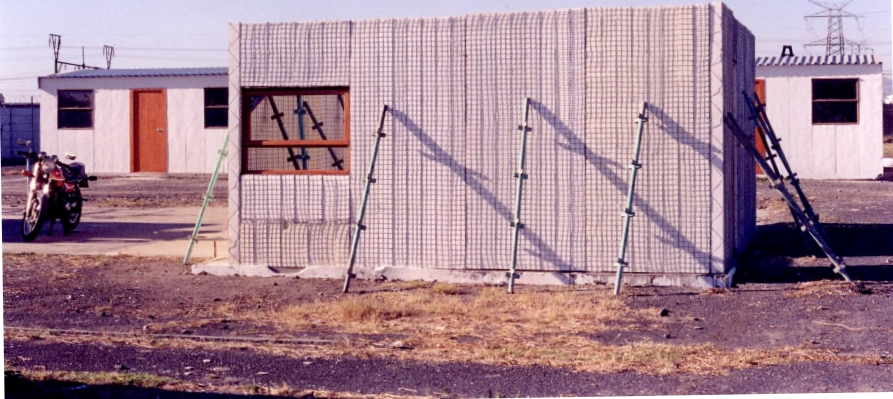
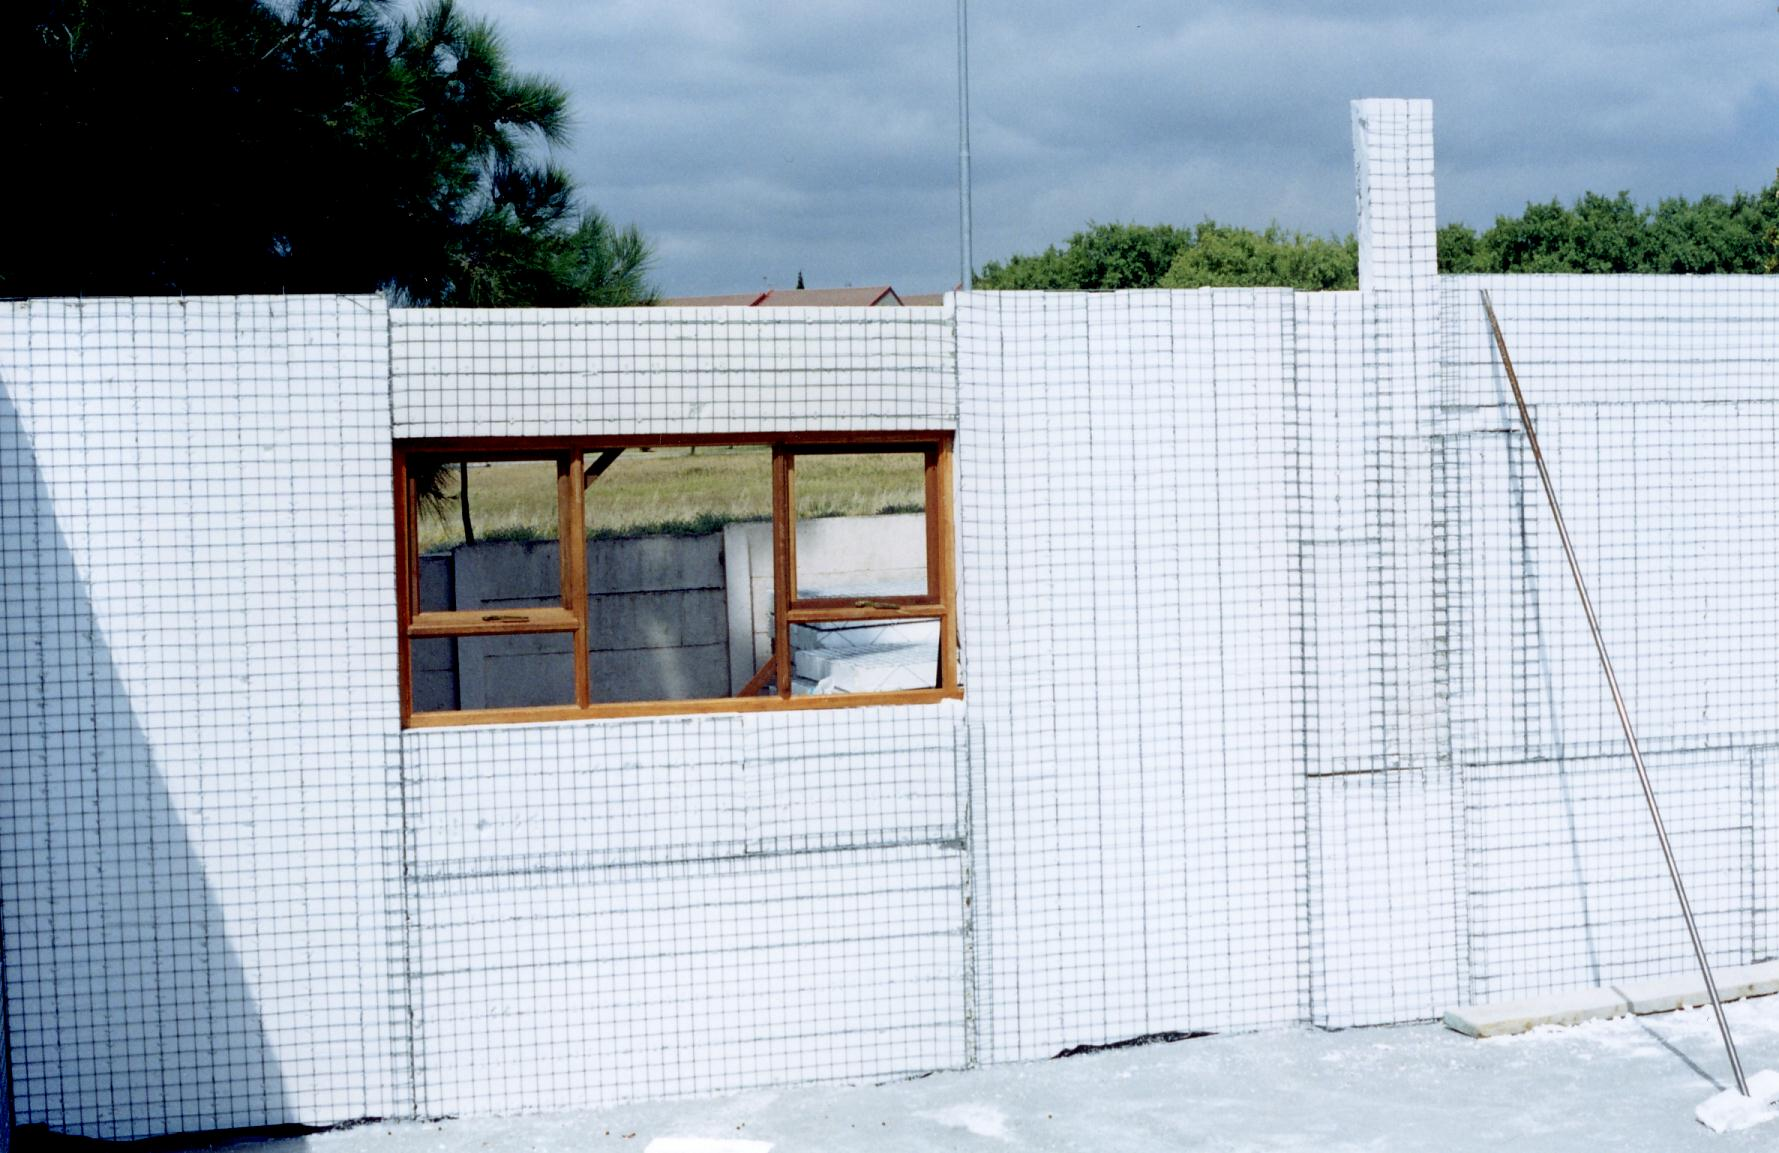
Window and Door Installation
Metal, wood or aluminium window frames are installed where the panel ends. See note below*.
The space below and above the window or doorframe is called a header. Turn a Scips panel on its side and cut it to the width of the window. This filler piece is installed below the window opening. The window is now fitted and the window anchor lugs are pushed into the polystyrene on both sides. A Scips panel cut to the correct size for the space above the top header is then installed and the anchor lugs are pushed into the polystyrene. The Scips panel that is installed next to the window is pushed onto the anchor lugs and attached.
The metal, wood or aluminium doorframe is also installed where the panel ends. The anchor lugs of the frame are pushed into the polystyrene. A header piece is added above the door. The next Scips Panel is added and the anchor lugs are pushed into the polystyrene.
Note*:. Panels are made in 3 lengths namely 2.4 m, 3.0 m and 6.0 and 1.2m wide
and a 120mm thick. The panel consists of eight segments of 150mm and the panel
can be cut to any of the 150mm increments as needed.
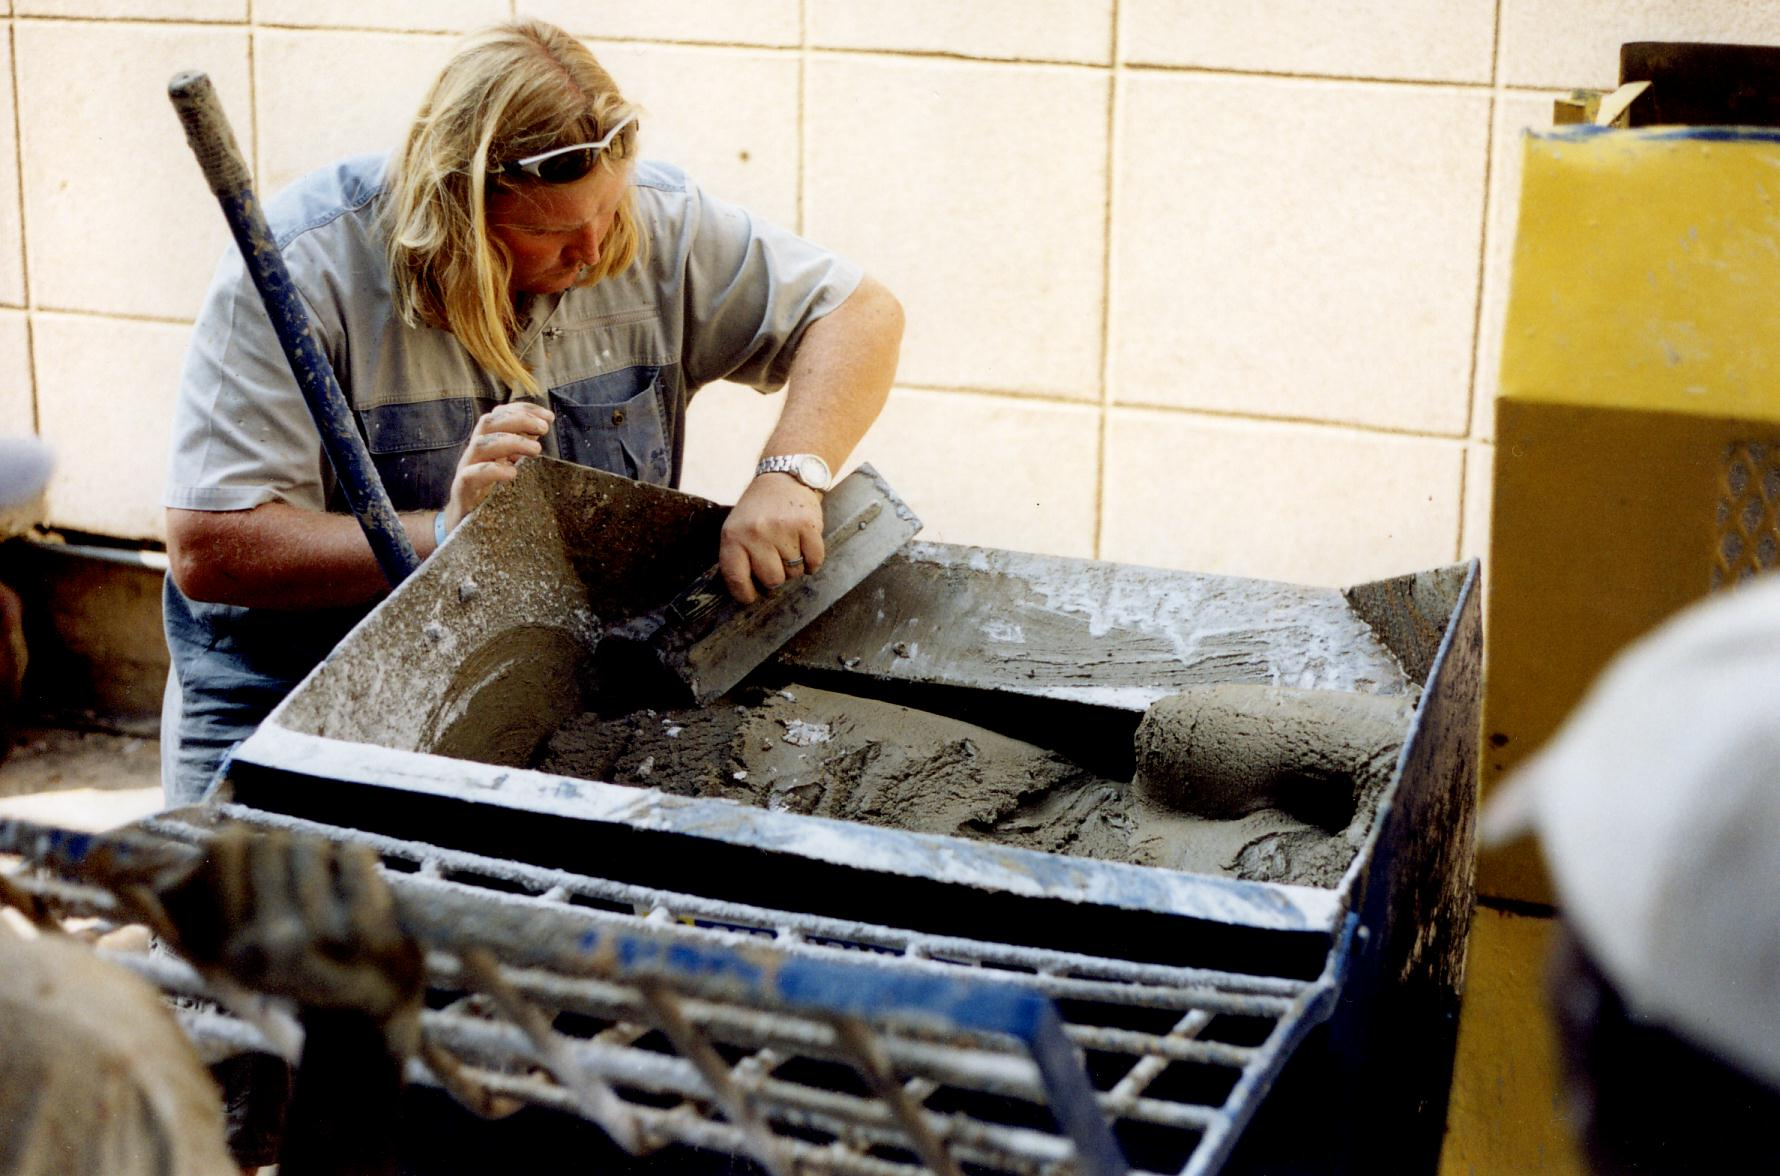
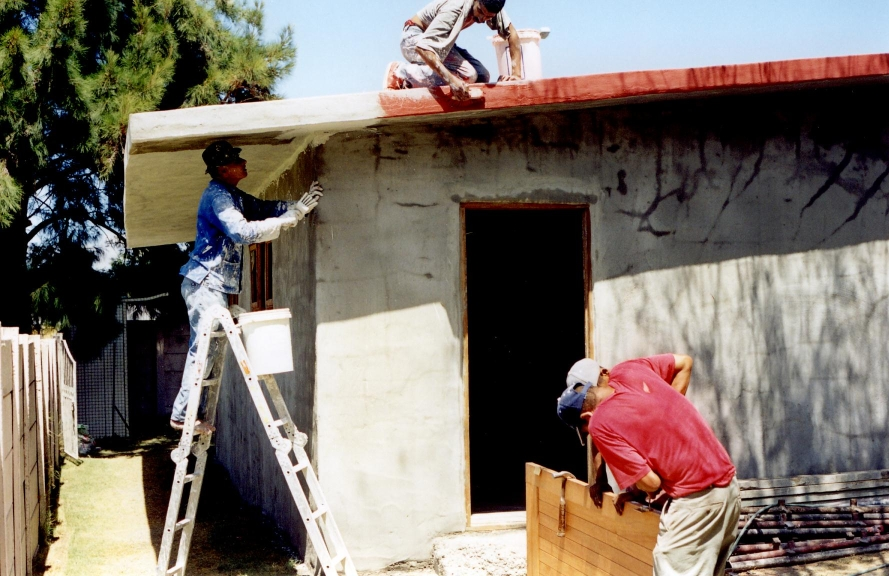
Plastering
The concrete plaster can be applied by hand or machine technique as well as by Shotcrete, either wet or dry mix (Gunite). Thickness varies from 25mm to as little as 10mm for minor structures. A plaster mixer is used to get the correct consistency of the plaster for better quality control as correct volumes of materials are fed into the machine. Cube testing is done to ensure the mixes remain as specified by the engineer or architect. Plastering is recommended to be done in 3 coats.
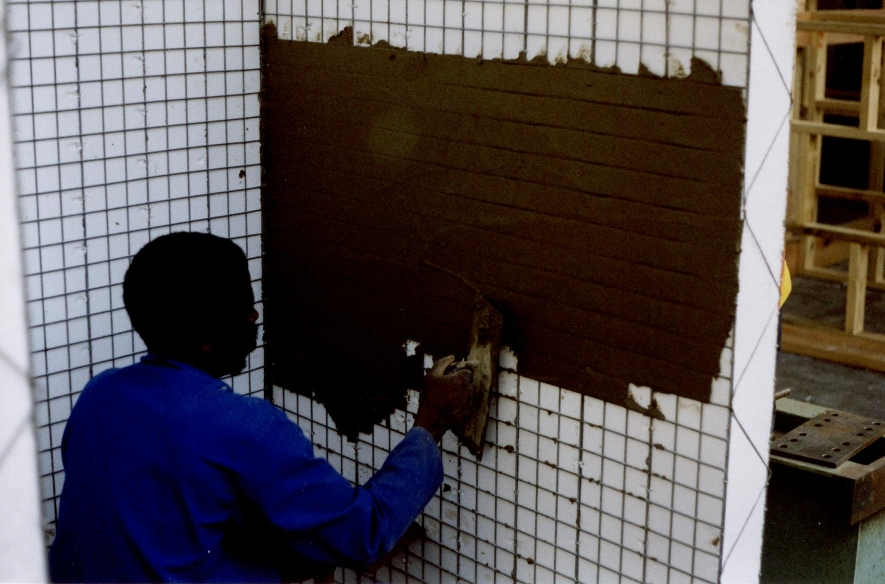
Step 1. First Thin Coat on Walls
Panels are secured with stays
The panels are levelled and set plumb and propped up with two stays. When two adjoining panels are in place they are joined
together with staples using the hog ring gun on both the in and outside of the panel. A cover strip of mesh 300mm wide is placed over these joints and joined to the main mesh panels with hog rings. The ridge beam is connected to the wall panels with the hog
rings and also a bent 90° bent mesh strip of 300mm wide on the inside of the panel and a flat piece on the outside of the panel.
Step 1. First Thin Coat on Walls
The same panels are used for the roof and these panels are connected to the wall panels and the beam with hog rings, and a 90° bent 300mm mesh strip is placed over the joints and secured with hog rings. All flat joints are covered with a 300mm cover strip of mesh. Conventional roofs can also be installed by using wooden trusses and any type of roof covering.
Step 2. Second Plaster Coat
The foam is melted out of the way with a plumber’s torch, spray paint or acetone, to create a chase space under the face wire. The electrical conduit and water pipe tubing is simply pushed in and connected.
The Roof is also Plastered Including the Ceiling
The foam is melted out of the way with a plumber’s torch, spray paint or acetone, to create a chase space under the face wire. The electrical conduit and water pipe tubing is simply pushed in and connected.
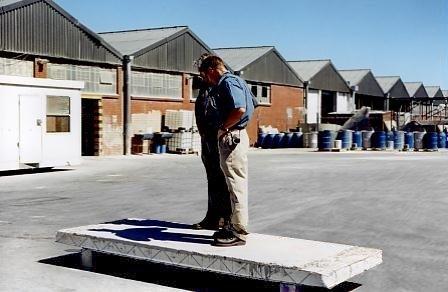
Plastered Panels are Strong
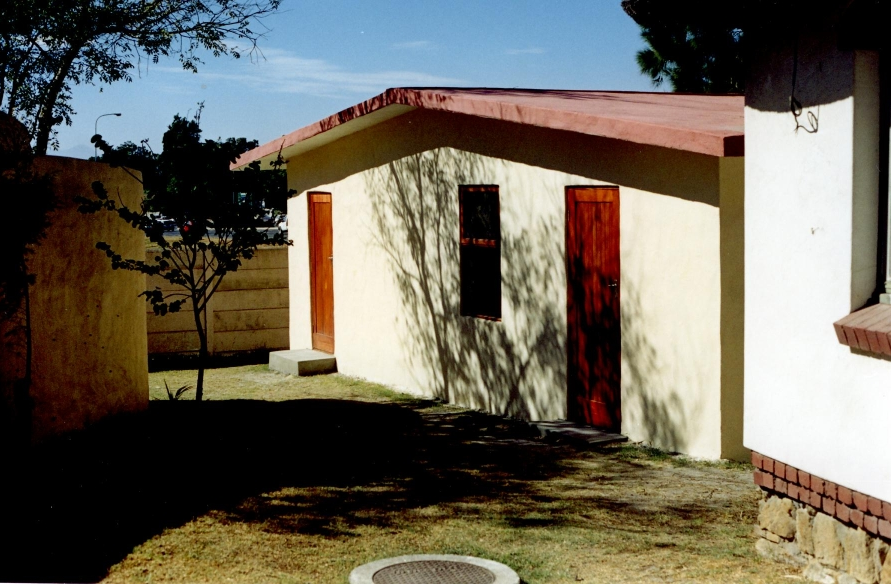
Painted structure
Completed structure